-
Glass cut to measure
I select the model
- Glass panels by brand
-
Seals
How do I find my gaskets?





















I search for my window
or
I order
How to replace the gasket on your Supra wood-burning stove without making a mistake
Have you noticed that your Supra wood-burning stove is heating less effectively, that smoke is escaping, or that the door is no longer sealing as tightly ? Before assuming there is a serious fault, first check the condition of the seal. Replacing the seal on your Supra wood-burning stove is often all it takes to restore good performance. Here is how to do it properly.
Signs of a worn seal on a Supra wood-burning stove
A stove seal does not last forever. With repeated heating cycles, it becomes compressed, hardens and eventually loses its airtightness. On a Supra stove, the warning signs are fairly easy to spot.
The first sign is smoke. If you can smell smoke in the room when the stove is lit, or you can see smoke escaping around the door, the seal is often to blame. Another very reliable indicator: do the paper test. Slip a sheet of paper between the door and the frame, close it, then pull. If the sheet comes out without resistance, the seal is no longer doing its job.
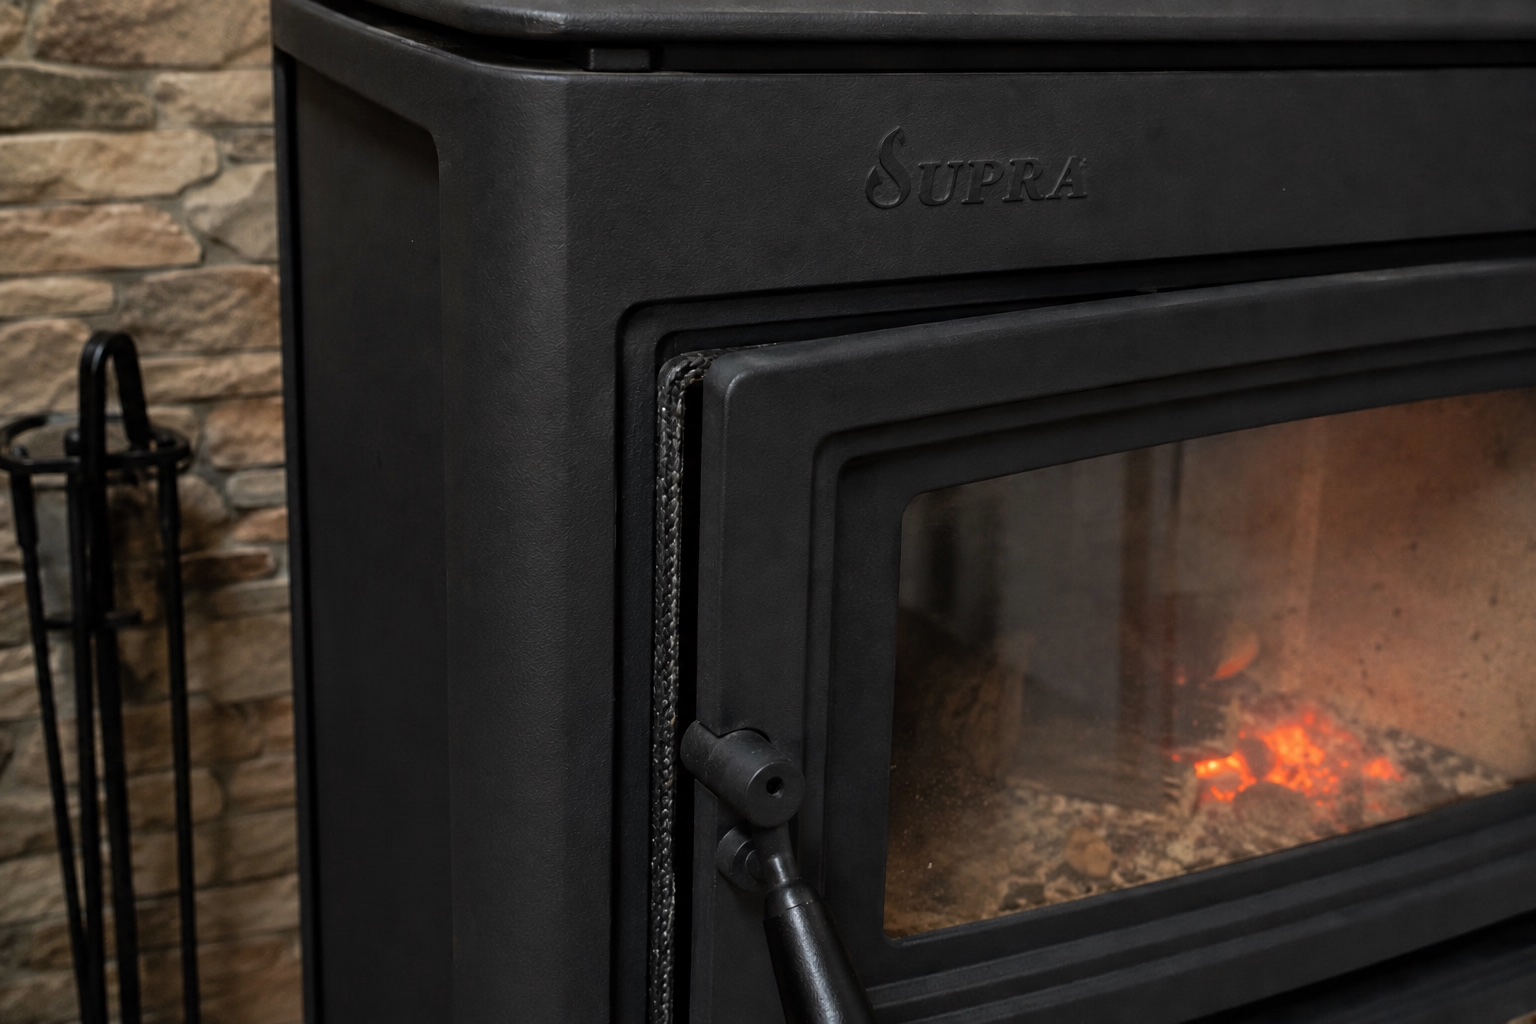
You can also simply look and feel. A seal in good condition is flexible and slightly compressible. A worn seal is hard, flattened, frayed or coming loose in places. On some Supra models, it may also show signs of excessive scorching.
Poor combustion in a wood-burning stove is often the direct result of a faulty seal: air enters in an uncontrolled way, the temperature rises too quickly or, on the contrary, the fire struggles to keep going. Do not leave this type of problem unresolved, as it can also damage other components over time.
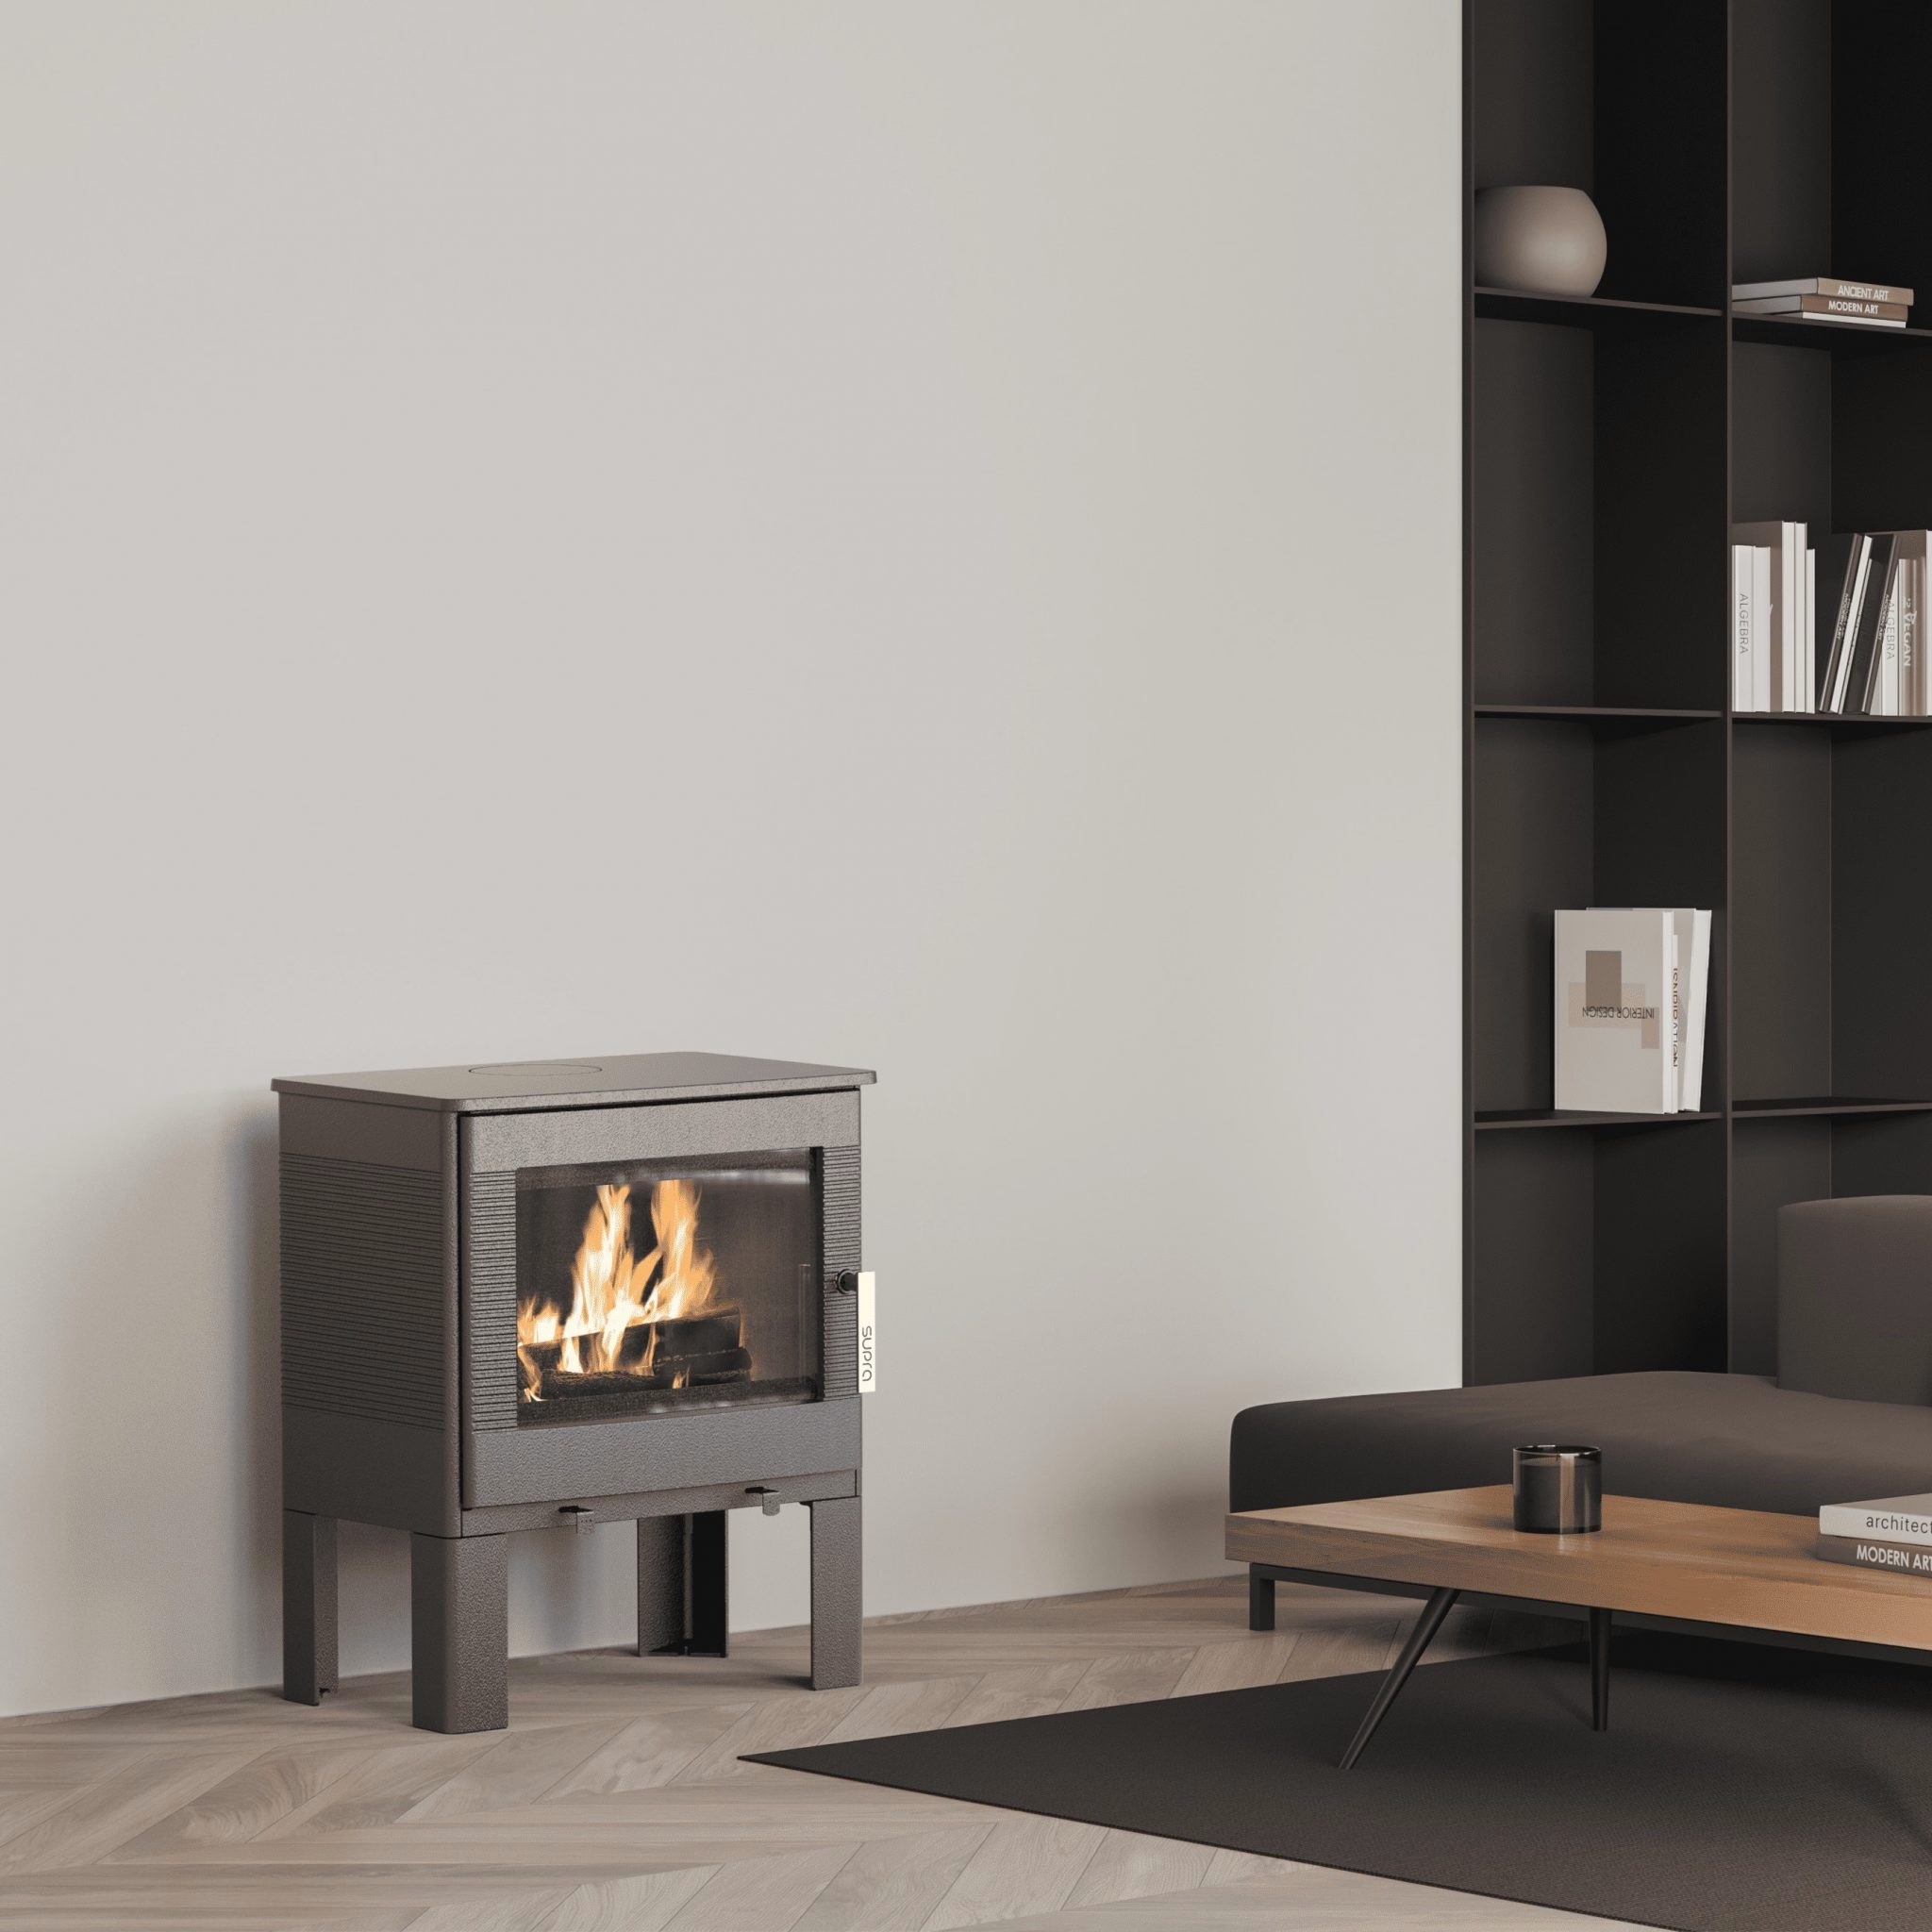
Which seal to choose for your Supra model
This is probably the most important question. Not all seals are equal, and above all, not all are compatible with every model. Replacing the seal on your Supra wood-burning stove properly starts with choosing the correct reference.
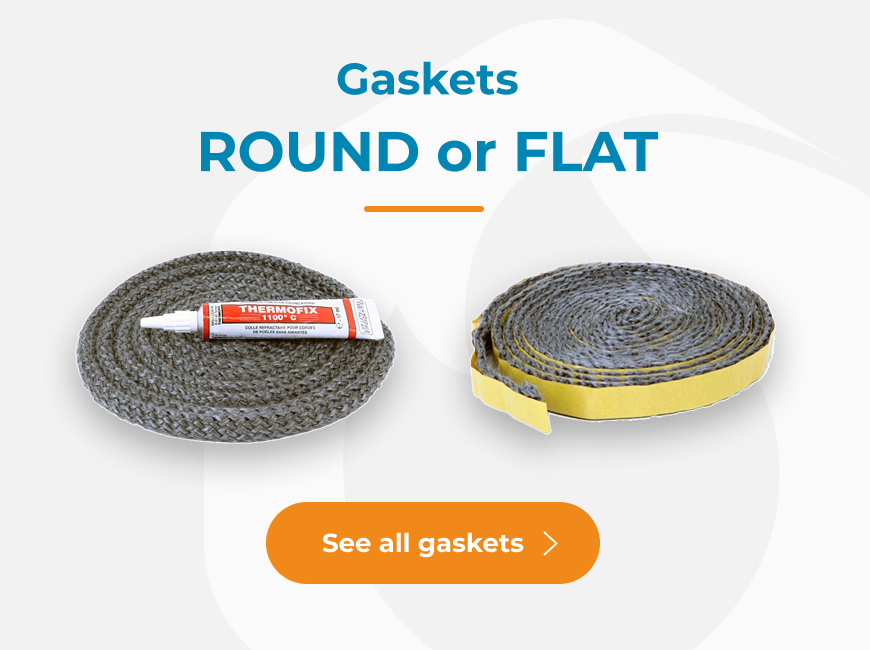
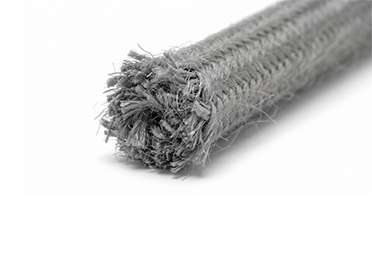
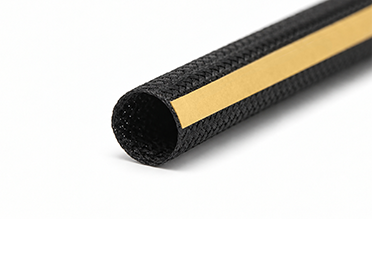
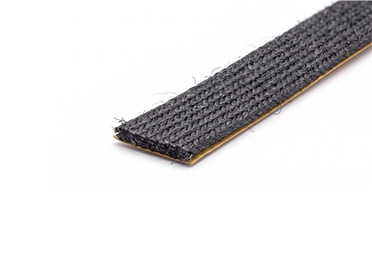
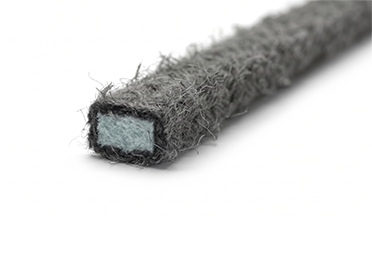
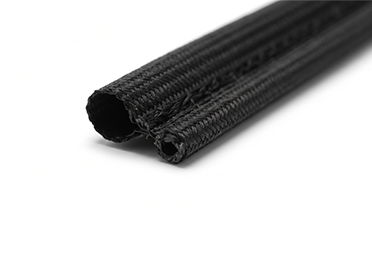
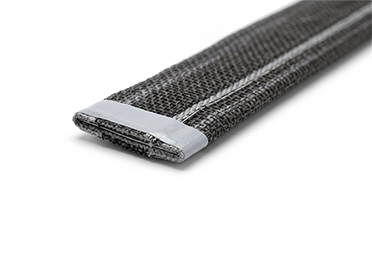
Seals for wood-burning stoves are made of fibreglass or refractory ceramic, braided into round or flat rope. Their diameter varies depending on the model, generally between 8 mm and 20 mm. For a Supra stove, you must refer to the model reference shown on the stove's data plate, usually located at the back or under the door. Do not choose a seal at random based only on the apparent diameter of the old seal: after years of use, the old seal is often flattened and no longer matches its original section.
To make sure you choose the right seal, you can consult a seal catalogue organised by brand. For example, to find a seal compatible with your Supra stove, visit seals by brand for wood-burning stoves
where references are organised by manufacturer, helping you avoid any compatibility errors.
Also check whether the seal is supplied with or without refractory adhesive. In most cases, the adhesive is sold separately and is essential for securing the seal durably in the channel.
Clean the channel before fitting the new seal
This is a step many people skip, and that is a mistake. If you fit a new seal into a dirty channel or one with remnants of the old seal still in place, it will not hold properly and you will have to start again in a few months.
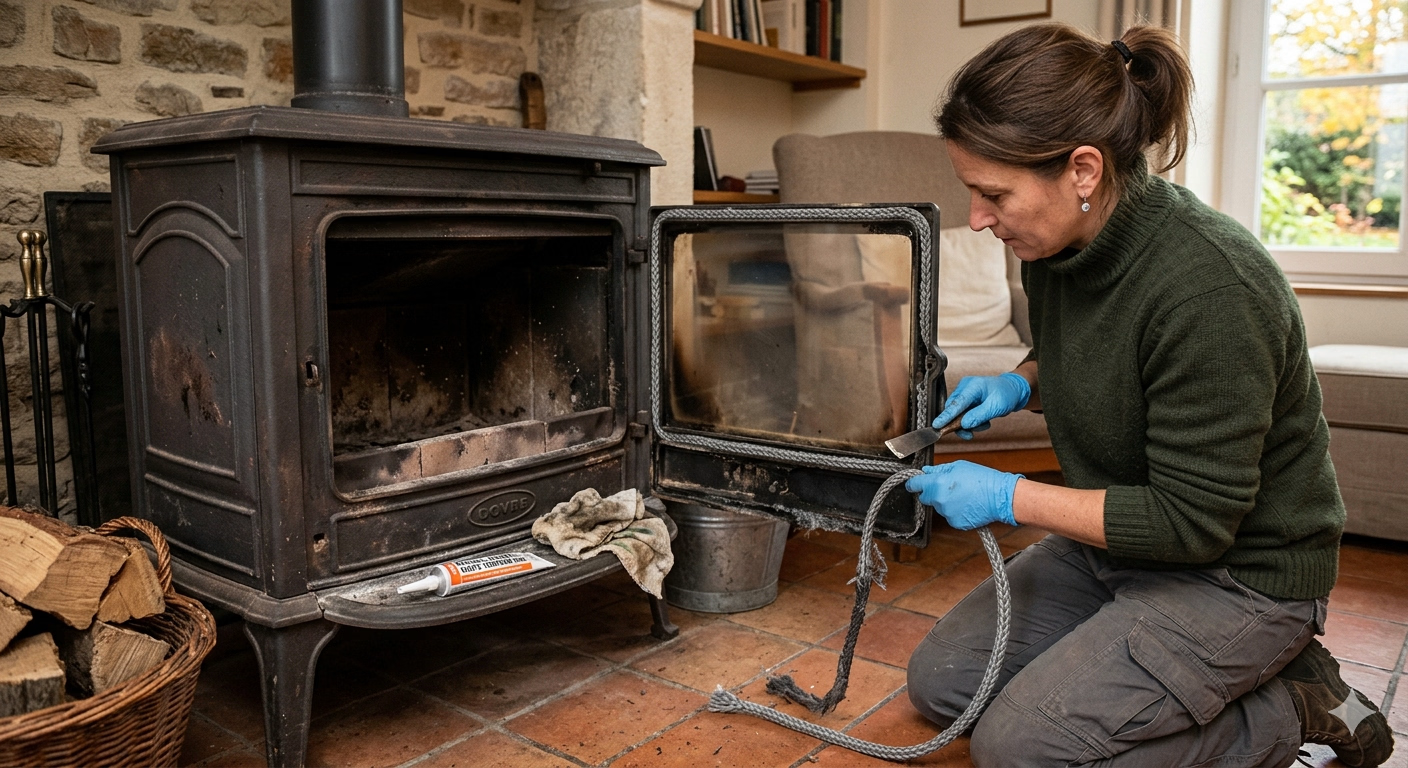
To clean the seal channel of a wood-burning stove, start by waiting until the stove is completely cold. Never work on a stove that is still hot. Then remove the old seal by pulling it gently. On some Supra models, it may be firmly glued in place and need to be loosened with a flat chisel or scraper.
Once the old seal has been removed, carefully scrape the entire channel to remove any carbonised adhesive residue. A wire brush can be useful for hard-to-reach areas. Finish by wiping with a dry cloth to remove the last traces of dust. The channel must be clean and dry before the new seal is fitted.
If the channel is damaged, chipped or cracked, check whether it can be repaired with refractory sealant before fitting the new seal. A damaged surface will compromise airtightness even with a brand-new seal.
Fitting the seal step by step on a Supra stove
Once the channel is clean and you have the correct seal, you can move on to fitting it. Replacing the seal on your wood-burning stove yourself is perfectly achievable, provided you follow the right order.
Start by measuring the channel perimeter precisely so you can cut the seal to the correct length. Allow a slight extra length of a few millimetres to ensure the join. Then apply the refractory adhesive in the channel along its full length in a regular bead. Do not use too much, to avoid excess spilling onto the glass or frame.
Fit the seal starting from a corner or from the top of the door, depending on the configuration of your Supra model. Press firmly as you go to push it properly into the channel. At the join, cut the seal neatly so that the two ends meet without overlap or a gap.
Close the door and leave it to dry according to the adhesive manufacturer's instructions, generally several hours at room temperature. For some refractory adhesives, it is recommended to carry out an initial gentle firing to cure the adhesive before using the stove again at full output.
Repeat the paper test after drying to check that the seal is airtight all the way around the door.
Common mistakes that cause poor combustion after replacement
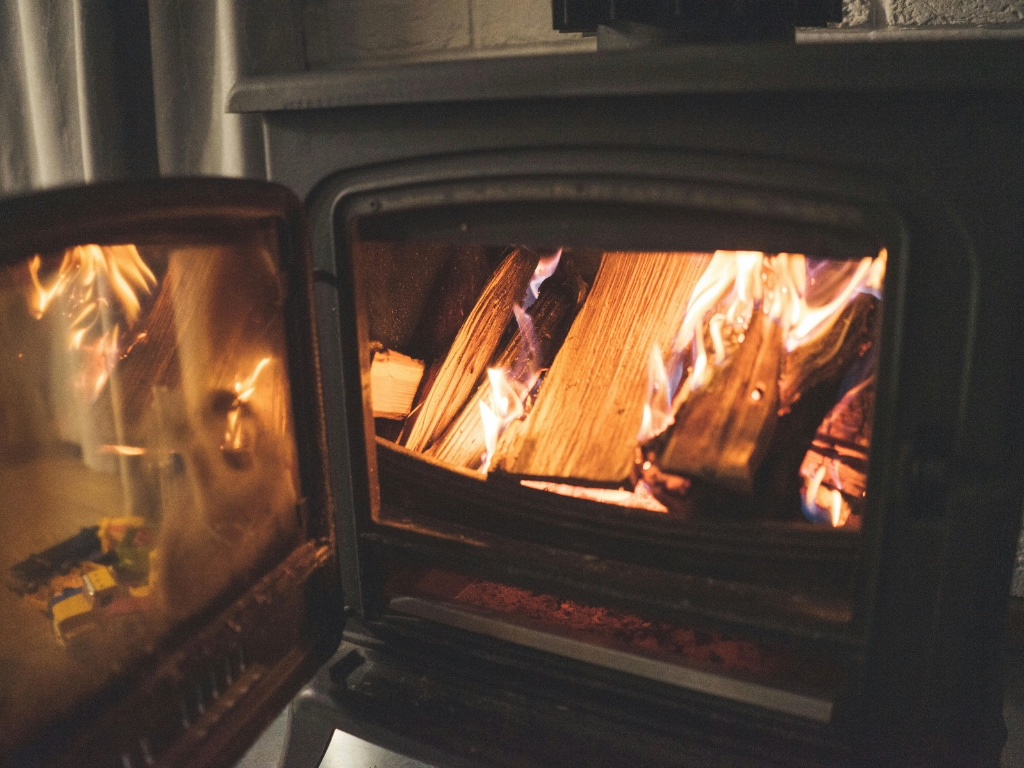
Even after changing the seal, some users find that combustion is still poor or that leaks persist. Here are the most common mistakes so you can avoid them.
- Choosing a seal with the wrong diameter: a seal that is too thin will not fill the gap in the channel, while a seal that is too thick will prevent the door from closing properly.
- Not cleaning the channel: residue from old adhesive creates irregularities that prevent the seal from sitting evenly.
- Using too little adhesive or an unsuitable adhesive: ordinary adhesive cannot withstand the temperatures of a wood-burning stove. You absolutely need an approved refractory adhesive.
- Not allowing enough drying time: relighting the stove too soon can cause the seal to shift before the adhesive has properly set.
If, despite fitting a new seal, you still notice poor combustion in your wood-burning stove, check the condition of the glass seal and the draught in your flue. These two elements may also be the cause of the problem.
By following these steps, fitting the seal on your wood-burning stove correctly is not complicated at all. With the right equipment and a little care, your Supra stove will regain its airtightness and heating performance for several seasons. To order the seal that matches your model directly, you can consult the product page for the Supra LG415 side door seal and check its compatibility with your appliance.
Need some advice or a personalised quote ?
Email us at info@capska.fr
Call us on 02 31 53 20 70
Order your glass panels and gaskets for fireplaces and stoves online.
Loading...
check_circle
check_circle