-
Glass cut to measure
I select the model
- Glass panels by brand
-
Seals
How do I find my gaskets?




















I search for my window
or
I order
Advice and tips on replacing your glass panel
Your glass has given way, it's cracked or completely shattered. Good news: replacing an insert or wood stove glass can be done at home, in under an hour, with a simple screwdriver. Most of our customers handle it themselves. The real sticking point isn't the fitting, but knowing which glass to order. We'll go through everything together, step by step.
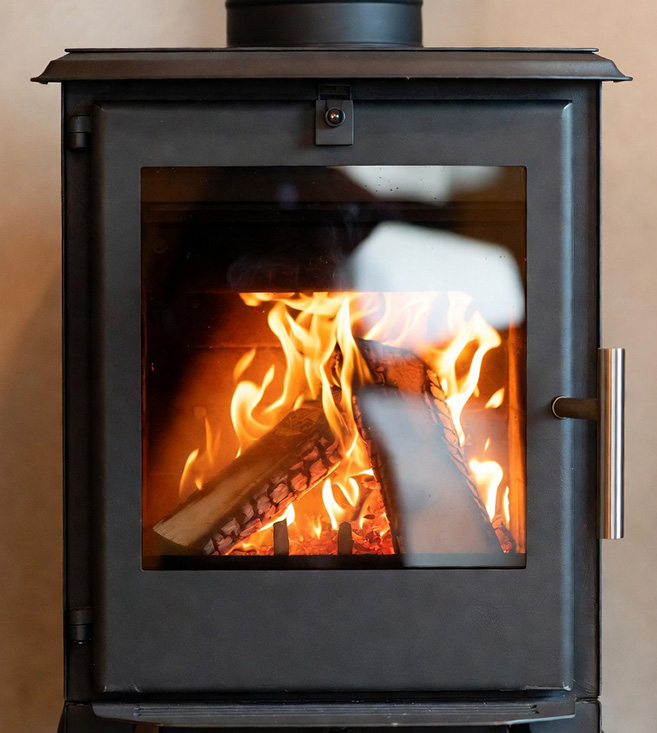
Two things to sort out before dismantling
Before touching a single screw, two matters deserve your attention: the material and the money.
The right material: ceramic glass, not ordinary glass
The glass in your appliance is ceramic glass. This material withstands more than 750C without flinching. Toughened glass, however thick, tops out at around 250C. Yet your firebox reaches three times that. Fit toughened glass and it would shatter on the very first fire, with fragments flying into the room. We work with Schott glass, a German manufacturer that has produced the industry benchmark for decades. No other glass will hold up to the heat.
Check your insurance before you pay
A broken stove or insert glass often falls within the cover of a home multi-risk policy, and many owners are unaware of it. So before you reach for your bank card, take a look at how to make an insurance claim for broken glass on a stove or fireplace insert. You can even generate a quote from your basket and send it directly to your insurer.
As for tools, nothing complicated: a rigid tape measure, a screwdriver, gloves, and a scraper to remove the old seal. Add a protractor if your glass is bent.
Step 1: identify your glass
This is the point that most often causes difficulty. There are three possible scenarios depending on what you know about your appliance.
|
Situation |
Method |
Reliability |
|
Make and model known |
Search by make in the catalogue |
Dimensions already validated, no risk |
|
Glass intact, model unknown |
Direct measurement of the glass |
Good if the measurements are careful |
|
Glass broken, model unknown |
Measure the frame, minus 5 mm |
Adequate, to be confirmed if in doubt |
Start by looking for the rating plate. It's most often fixed to the back of the stove, sometimes under the ash pan, and carries the make and model. The manual will do too if you've kept it. With these two pieces of information, head to our glass by make page. We list more than 300 makes, from Invicta or Godin to manufacturers no longer stocked by anyone. The glass arrives already cut to the correct dimensions, so you have no measurements to take.
If your appliance is old, if the plate has disappeared under the paint or if the model appears nowhere, move on to measuring. It happens often and it's not a problem.
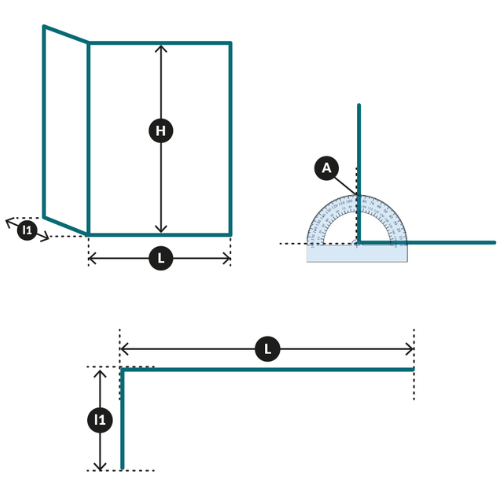
Two-panel folded glass panes
Take your measurements on the outer surface, as if the corner were protruding.
Check the angle of the fold using a protractor.
(Most are 45° or 90°)
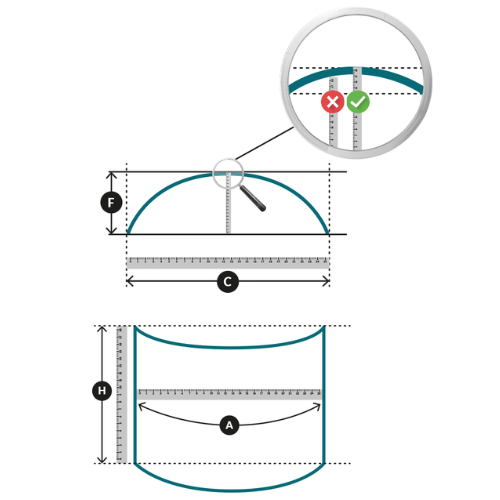
Curved or domed windows
Take your measurements on the outside; make sure you stretch your tape measure properly or use a piece of string.
Be precise!
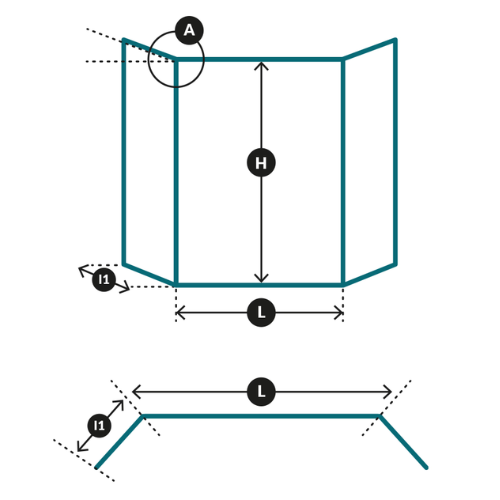
Three-sided folded glass – known as prismatic
Take your measurements on the outer face, as if the corner were protruding.
Check the angle of the fold using a protractor.
(Most are 45° or 90°)
Step 2: taking measurements without going wrong
This is where most ordering errors occur. We cut to the millimetre, so an approximate measurement gives an unusable pane of glass.
The choice of tape measure matters. Use a DIY tape measure, the kind that retracts on its own. A sewing tape stretches under tension and throws the measurement off by several millimetres. A folding rule introduces slack at each joint. Pull the tape taut from one edge to the other without letting it sag.
Measure the metal frame, not the visible part of the glass. A good portion of the glass sits under the frame, and it's this total dimension we need. Many customers note down the surface they can see, then receive a glass that's too small and doesn't sit in its housing.
When the glass is broken, you've nothing left to measure on the glass itself. In that case, note the internal dimensions of the frame and take off 5 mm in each direction. These 5 mm are the clearance the glass needs to expand without being constrained against the metal. Also bear the thickness in mind: measure it on a fragment of the old glass, or look it up in the manual. It determines the mechanical strength and the fit within the frame.
Shapes that aren't rectangular
Our catalogue covers around twenty shapes: round, oval, trapezoidal, prismatic, cut corners, drilled, and a few others. For a curved, domed or thermoformed glass, measurements are taken on the outer face, the one facing the room. The simplest approach is to lay a piece of string along the curve, then transfer it flat onto the tape. A rigid tape follows a curve poorly.
For a bent glass, measure each section separately, always on the outer face, as though the angle were pointing outwards. Then check the angle of the bend with a protractor. If you don't have one, give us the measurement as you took it and we'll do the calculation. Some corner fireboxes have two or three panes, rarely identical: always specify which face is involved.
One last word on dimensions: if you're in doubt, don't guess. Send us a photo of the appliance, the rating plate and the glass in place via our quote request. Our team checks before starting the cut, it's free, and it avoids a £100 mistake.
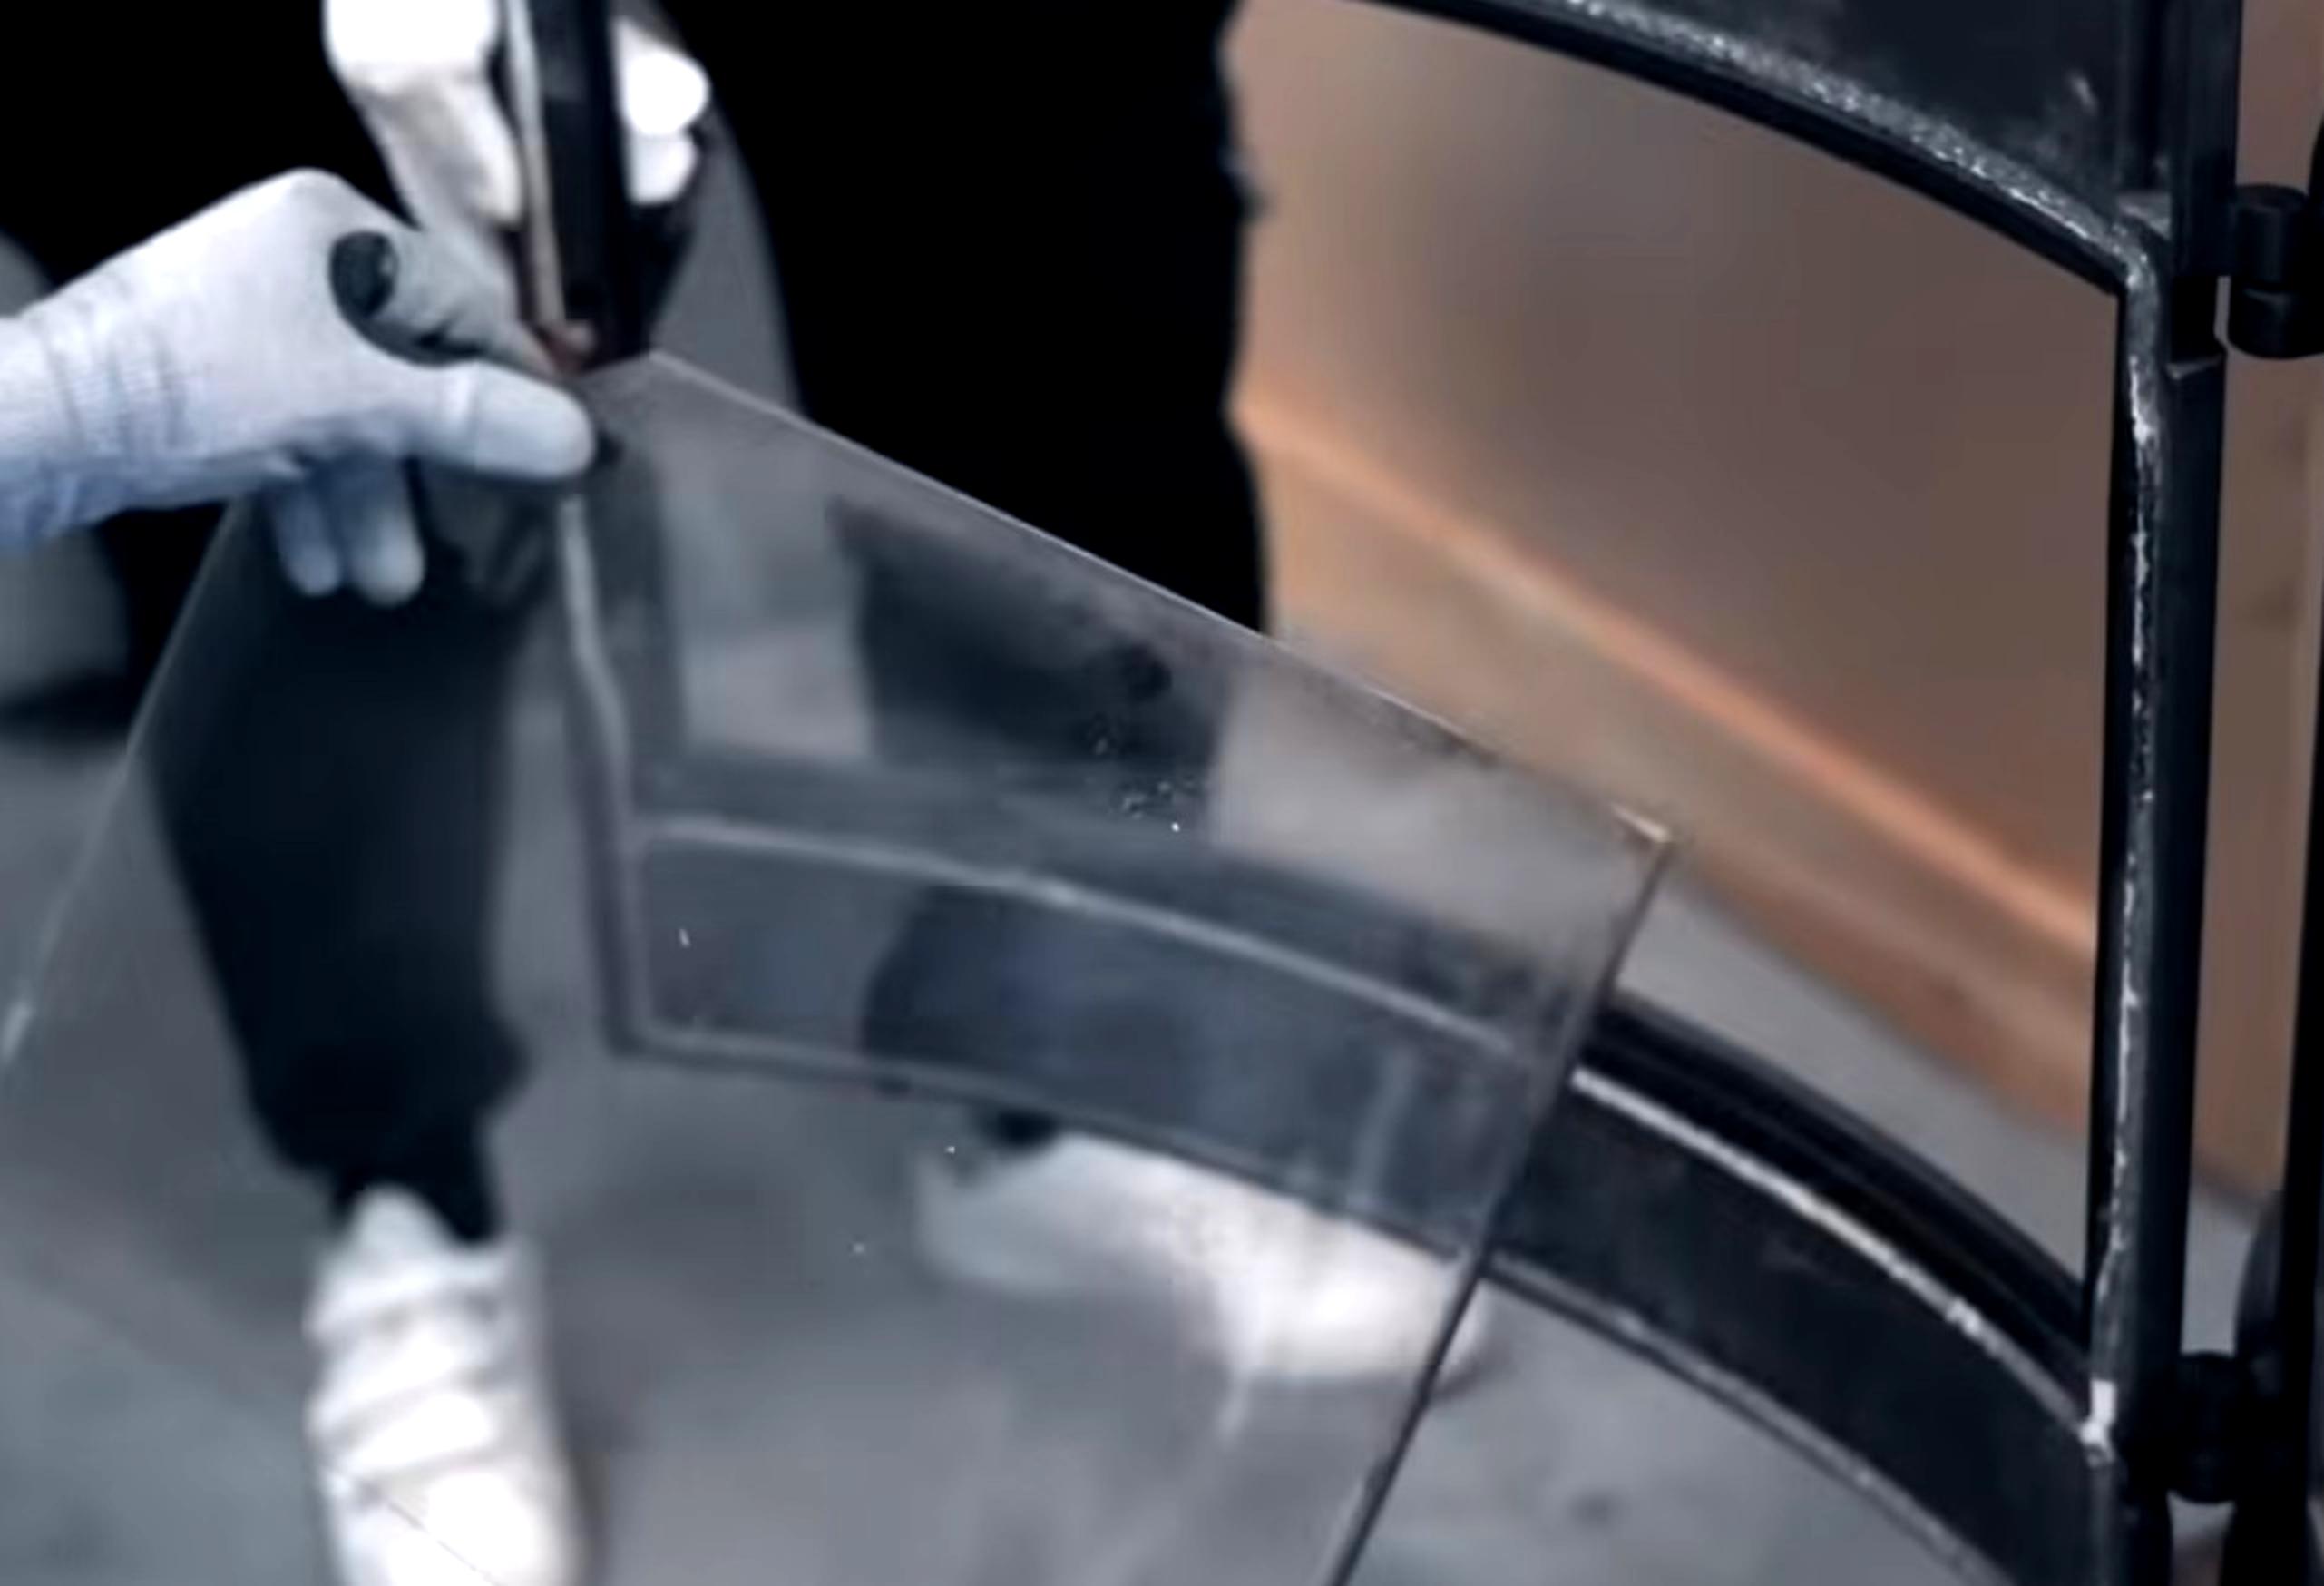
Step 3: removing the old glass
Wait until the appliance is completely cold. Put on your gloves; a cracked pane breaks easily when handled. On some models, taking the door off its hinges and laying it flat makes the job noticeably more comfortable. It isn't compulsory, but if the door comes off without forcing, do it.
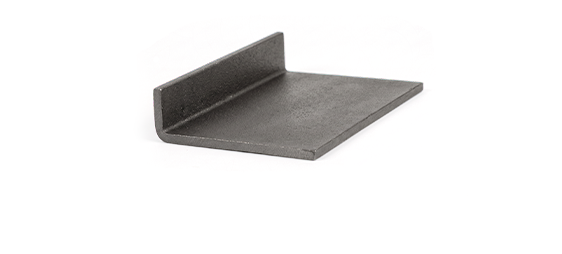
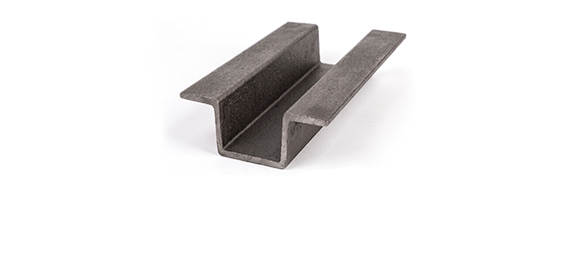
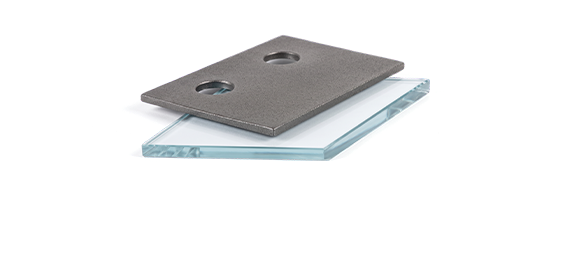
Remove the screws holding the glass. They usually clamp small metal tabs known as clips. If the screws are rusted or the clips distorted, replace them. Then lift the glass out gently. If it's broken, pick up every fragment, including those fallen into the firebox.
Step 4: cleaning the frame
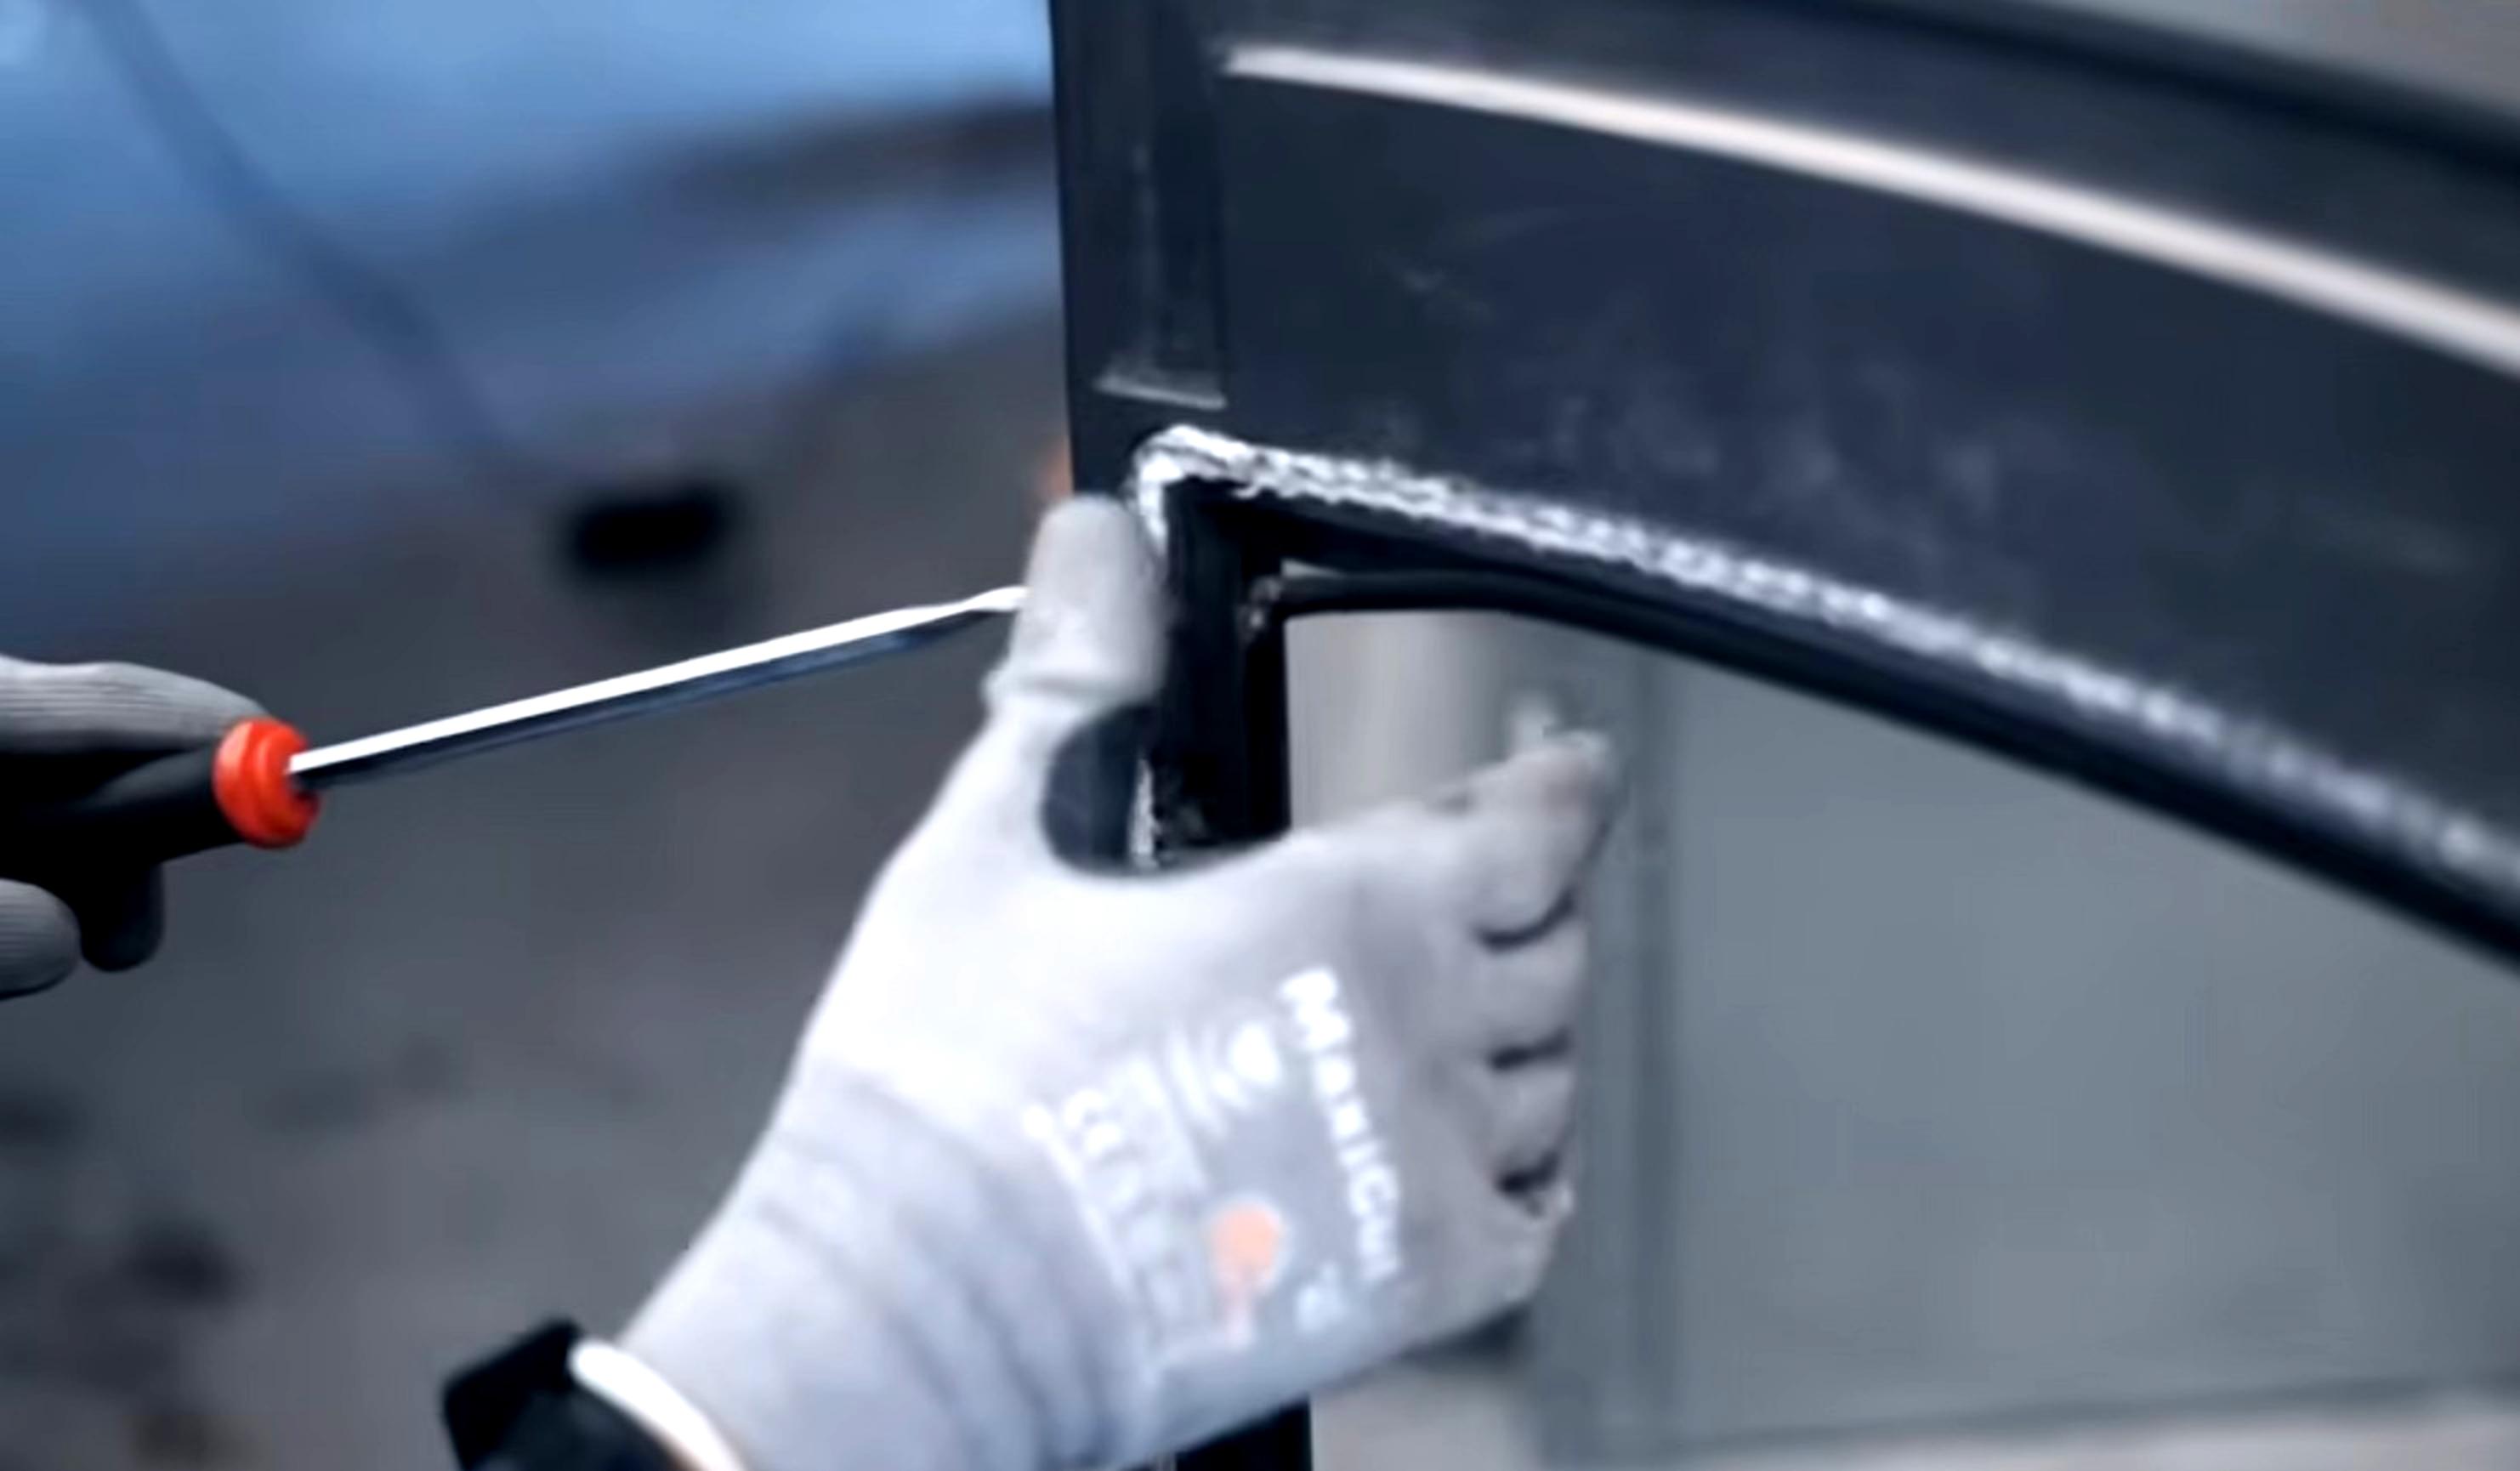
Here's a step many rush through, and one that causes problems later on. Scrape off all the adhesive and every trace of seal around the frame. The edge must be clean and dry before receiving the new seal. Any residue left in place creates a localised bump: the glass then rests on a hard point, works unevenly as it heats up, and eventually splits.
Take advantage of the dismantling to check the state of the frame. A deformation or a spot of advanced rust - now's the time to deal with it.
Step 5: choosing and fitting the seal
Never refit a new pane onto an old seal. The cord gets crushed and hardens over the heating cycles, it no longer plays its cushioning role, and the glass ends up bearing directly on the metal. This is the most common cause of glass that cracks a few weeks after a replacement.
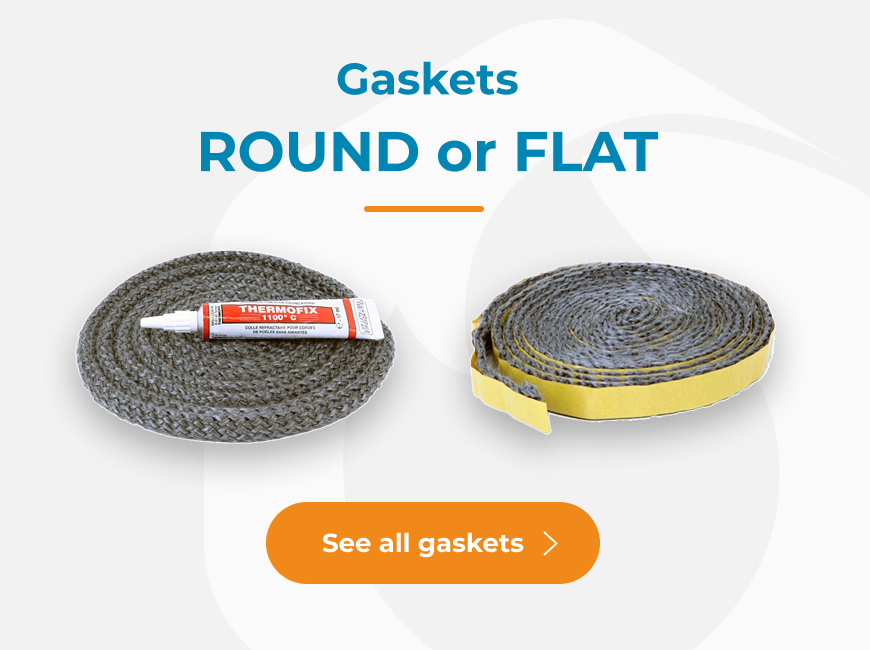
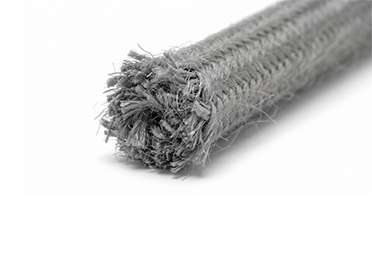
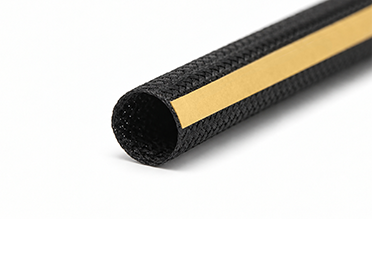
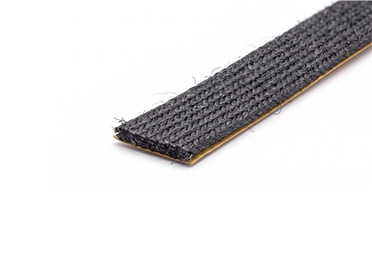
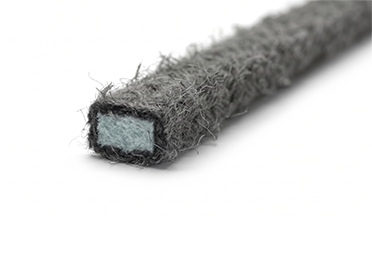
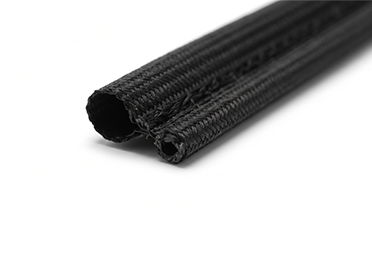
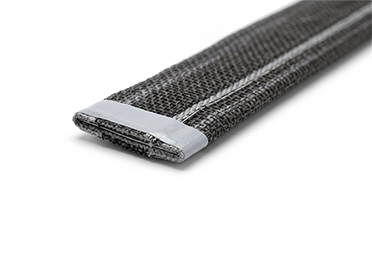
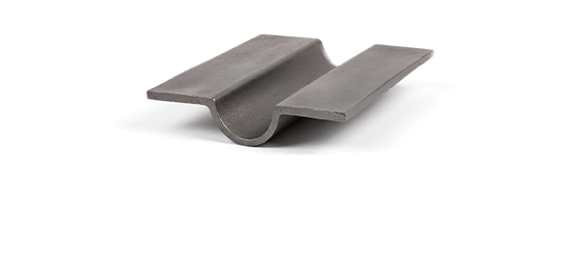
The choice is made by looking at your frame. If the edge is flat, you need a flat self-adhesive seal, a 10 × 2 mm in most cases. If you see a groove, that is a channel cut into the frame, you need a round seal to be fitted with high-temperature adhesive, and you'll need to measure the width of the groove to determine its diameter. Our seals by make give the reference for your appliance directly. If you want to get into the detail of diameters and materials, our article on how to choose your glass and door seals will guide you.
Step 6: refitting the glass
Place the new pane onto its seal without applying excessive force. Take care to ensure it is the correct way round if your pane is self-cleaning. The self-cleaning side of the pane must not face the flame.
Make sure you position it on the outside to ensure its effectiveness and longevity.
If you have ordered a self-cleaning pane, the label will state ‘This side – Outer side’. If this label is not present, there is no specific direction for fitting.
Refit the fixings and tighten moderately, without doing up the screws fully. The glass needs a little play to expand, and over-tightening breaks the glass just as surely as an impact does. If your screws or tabs have suffered, find glass fixings with references by make. Finish with a first gentle fire, at a reduced rate, to let the whole assembly come up to temperature gradually.
Loading...
check_circle
check_circle