-
Glass cut to measure
I select the model
- Glass panels by brand
-
Seals
How do I find my gaskets?






















I search for my window
or
I order

How to measure your insert or stove glass to order the right size?
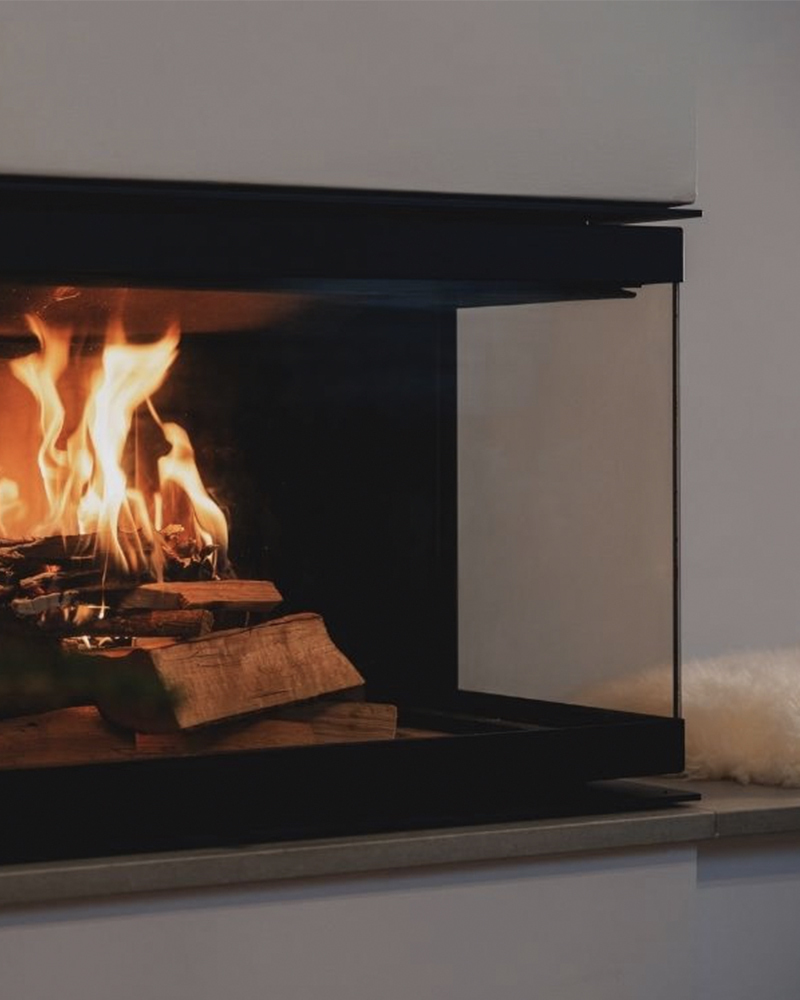
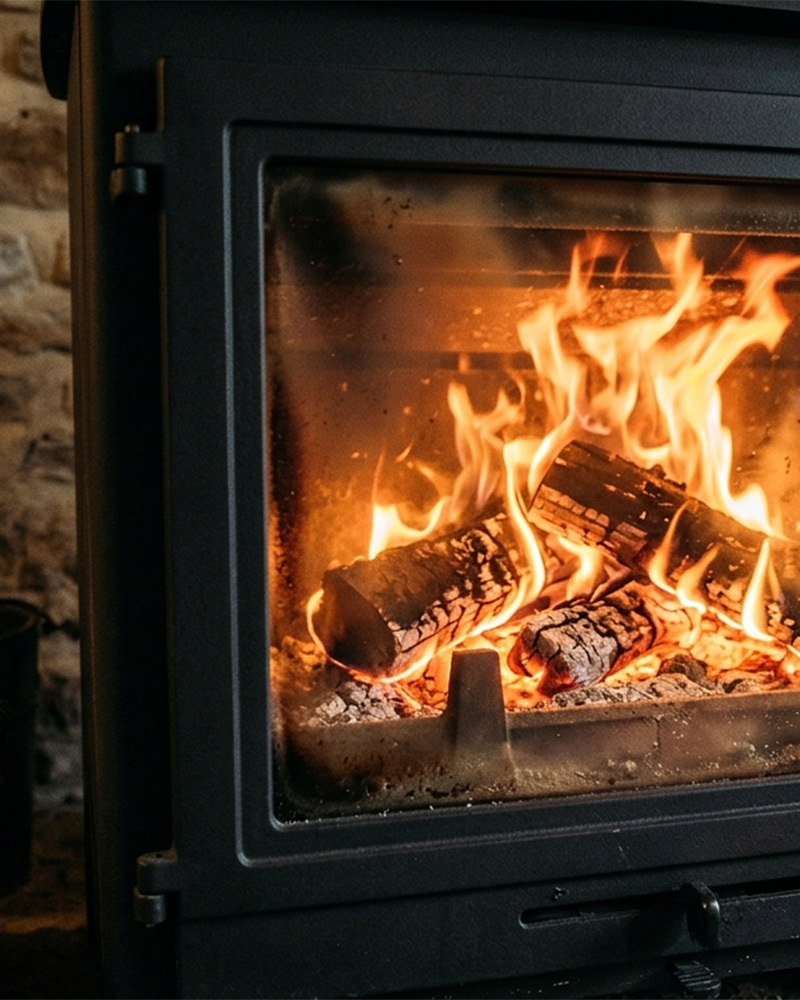
Do you have a cracked, cloudy or completely broken insert or stove glass? Before placing an order, you need to have the correct measurements. An error of just a few millimetres is enough to end up with an unsuitable part, additional delays and a higher bill. Here’s how to measure your insert or stove glass methodically, without making a mistake.
Why accurate measurements are essential
The glass panel on your heating appliance is not merely a decorative feature. It ensures the combustion chamber is airtight, helps regulate the draught and protects your home from sparks. A poorly fitted glass panel will not seal properly, allowing cold air to enter and potentially putting your installation at risk.
Insert and stove glass panels are made from refractory glass-ceramic, a material capable of withstanding temperatures exceeding 700°C. This type of glass is available cut to size or in standard sizes. It is precisely for this reason that taking accurate measurements is crucial to the success of your order.
- A pane that is too small will not sit properly on the seal and will allow air to leak through.
- A pane that is too large simply will not fit into the frame.
- Incorrectly measured angles on a trapezoidal or curved pane will result in unsightly and dangerous gaps.
Tools you’ll need before measuring your insert glass
No need for professional equipment. However, a few basic accessories are essential for working accurately :
- A rigid tape measure or a graduated metal ruler (avoid a standard tailor’s tape measure, as it bends)
- A pencil and a notebook to jot down each measurement straight away
- A set square if you suspect the angles are not straight
- A torch to see properly inside the insert housing
If the original glass pane is cracked, use some strong adhesive tape and place it on either side of the pane along the crack. This will allow you to remove the fixings holding it in place so you can take the exact measurements.
How to measure a replacement window pane: a step-by-step guide
Step 1 – Measure the existing window pane (direct method)
This is the simplest and most reliable method. If the window pane is still in place or has simply been removed :
- Carefully remove the window pane by unscrewing the clips or retaining tabs. Lay it flat on a stable surface.
- Measure the total width of the glass, from edge to edge.
- Measure the total height, from edge to edge.
- Measure the thickness: generally 4 mm, sometimes 3 or 5 mm depending on the make and model of the appliance.
- If the glass is broken into several large pieces, reassemble it like a jigsaw puzzle on a flat surface before measuring.
Note down each measurement in millimetres, not centimetres, to avoid any confusion when placing your order.
Step 2 – Measuring the glass recess (indirect method)
If the glass cannot be found or is too fragmented, measure the frame or recess in the appliance door directly :
- Open the door of the insert or stove and locate the groove or rim on which the glass rests.
- Measure the inner width of the door frame at its widest point to fit the glass, then subtract 5 mm from this width to allow for the necessary expansion of the metal.
- Repeat the process for the height.
- If in doubt, refer to your appliance’s technical manual or contact the manufacturer to find out the exact recommended dimensions.
Step 3 – How to deal with unusual shapes on flat glass
Not all inserts and stoves have rectangular glass panels. Some models have specific shapes :
- Isosceles trapezium : measure the two widths (top and bottom) as well as the height; do not measure the diagonal. The bottom corners must be measured as if they were protruding (in case they have been slightly folded down).
Order a made-to-measure isosceles trapezium
- Rectangular trapezium : only measure the straight sections, i.e. the width, the maximum height and the shorter height.
Order a made-to-measure rectangular trapezium
- Curved rectangle : The most important thing for this shape is to determine whether the curve is formed by several circular arcs (with different radii) or by a single one. If it is a single circular arc, measure the maximum height and the lower height before the curve begins. If the curved section consists of several consecutive circular arcs, it is best to make a paper template and send it to the manufacturer.
Order a made-to-measure curved rectangle
- Round glass : measure the diameter of your glass or the diameter of the inner frame, then subtract 5 mm.
- Oval pane : Amongst stove and insert glass panes, oval shapes vary widely and are often irregular. It is best to provide the manufacturer with a template to ensure the cut is an exact match for your original glass.
- Half-circle glass : As the name suggests, this is a pane of glass where the height is twice the width. If the height of your glass is greater than expected, opt instead for the Curved Rectangle or Cut Circle shape.
- Cut circle : measure the diameter of your glass, its height and the base of the glass. If any of the measurements are incorrect, it may affect the others and you will receive a pane that is too thick or too small. Be precise!
- 1 rounded corner : The most important thing for this shape is to determine whether the curve consists of several arcs (multiple radii) or a single arc. If the maximum height and the minimum height are similar, it is likely that there is a single arc. If the curved section consists of several consecutive arcs, it is best to make a paper template and send it to the manufacturer.
Order a custom-made glass with 1 rounded corner
- 2 or 4 rounded corners : For this type of shape, we need to determine the radius of the rounded corner. Trace the outline of your glass onto a piece of paper, then mark out the right-angled corners as well as the rounded ones; all you need to do is measure the distance between the tip of the glass and the start of the curve, and you will have the radius.
- 1 cut corner : For this model, you will need to provide 2 widths and 2 heights; these will determine the corner to be removed.
Order a custom-made glass with 1 cut corner
- 2 or 4 cut corners : For this model, you will need to provide 2 widths and 2 heights; please ensure your measurements are as accurate as possible.
Order a custom-made glass pane with cut corners
- Triangle : Whether it is a right-angled or isosceles triangle, always remember to take measurements right up to the tips of the corners, even if they have been slightly cut. If in doubt, sketch the outline of your glass pane on paper and take the measurements based on the drawing.
Order a custom-made right-angled or isosceles triangle
In any case, please refer to our diagrams; for truly unusual shapes, a clearly framed photo accompanying your measurements will prevent misunderstandings and speed up the processing of your order.
Step 3a – How to handle curved and bent shapes
Not all inserts and stoves have flat glass panels. Some models have specific shapes :
- Curved : Measurements are taken on the outer surface of the glass, at the point of greatest curvature, as this is the radius of the curve we need to determine. The arc and the chord are the easiest measurements to take; remember to stretch your tape measure properly.
Place your order for bespoke curved glass
- 2-sided bent : Measurements are taken on the outer surface of the glass, at the point of greatest curvature, as if the bend angles were protruding. Remember to check whether the angle is 90° or 135°, and inform the manufacturer if it is any other angle.
Place your order for bespoke bent glass
- Bent on 3 sides : for the prismatic shape, measurements are taken on the outer face of the glass, at the thickest point, as if the bend angles were protruding. Remember to check whether it is indeed a 135° angle and inform the manufacturer if you find a different measurement.
Place your order for bespoke prismatic glass
In any case, please refer to our diagrams; for truly unusual shapes, a clearly framed photo accompanied by your measurements will prevent misunderstandings and speed up the processing of your order.
An extra tip
Place your window pane on a piece of paper to trace around the base and take your measurements directly on the template.

Common mistakes to avoid at all costs
|
Common mistake |
Consequence |
Best practice |
|
Measuring in centimetres and/or rounding off |
Discrepancy of several millimetres; glass does not fit |
Always measure to the nearest millimetre |
|
Forgetting to measure the thickness |
Glass too thick or too thin for the opening |
Check the thickness on the old pane or in the instructions |
|
Measuring the inner frame without allowing for metal expansion |
Pane too large, breaks on first heating |
Allow at least 5 mm on each side, depending on the model |
|
Measure using a soft tape measure, which is flexible but unsuitable as it is not very accurate |
Risk of obtaining measurements that differ from those required |
Use a DIY tape measure or a ruler |
Place your order with confidence
Once you have your measurements to hand, you can turn to a specialist in cutting fire-resistant glass. Platforms such as Capska allow you to order made-to-measure glass panels for fireplaces and stoves directly online, simply by entering your measurements. The glass is then cut to size and delivered to your door, ready to install.
Before confirming your order, always check :
- That the dimensions entered match your measurements (in mm)
- That the selected thickness is compatible with your appliance
- That the chosen shape (rectangular, trapezoidal, curved, etc.) matches the actual shape of your door frame
- That the material is certified refractory glass-ceramic, and not standard tempered glass
A replacement that should not be delayed
A cracked or opaque glass pane is not just an aesthetic issue. It weakens the thermal structure of your appliance and can lead to localised overheating of the frame, or even a fire hazard if flames or embers manage to escape through the crack. At the first signs of wear, replacement is essential.
The good news is that with the right measurements and a reliable supplier, the job takes little time and is manageable for a keen DIYer. Installation usually takes less than an hour, including fixing and sealing.
FAQ
1. What is the standard thickness of an insert or stove glass panel ?
Most fire-resistant glass panels are 4 mm or 5 mm thick. However, some appliances require a different thickness. Always check the thickness of your original glass panel or consult your appliance’s technical manual before placing an order.
2. Can I order a custom-made insert glass panel if the shape is not rectangular ?
Yes, most specialists in cutting fire-resistant glass offer bespoke cuts for trapezoidal, curved or template-based shapes. It is recommended that you provide precise measurements and, if possible, photos of the original glass panel to facilitate production.
3. What should I do if my window pane has shattered into several pieces and I can no longer measure it ?
You have two options: either piece the shards together like a jigsaw puzzle on a flat surface to note down the dimensions, or measure the inner width of the door frame at its widest point where the glass will be inserted, then subtract 5mm from both the height and width to allow for the metal’s expansion. As a last resort, contact the manufacturer of your appliance, who will be able to provide you with the exact recommended dimensions.
4. Can I replace an insert glass panel with standard toughened glass ?
No. Standard toughened glass cannot withstand the extreme temperatures generated in an insert or stove. Only approved refractory glass-ceramic is suitable for this purpose. Using any other material poses a risk of breakage and a safety hazard for your installation.
5. How long does it take to fit an insert glass panel once the part has been received ?
Fitting usually takes less than an hour for an experienced DIYer. Simply remove the clips or retaining brackets, replace the seal if necessary, position the new glass panel and refit the retaining elements.
Loading...
check_circle
check_circle