-
Glass cut to measure
I select the model
- Glass panels by brand
-
Seals
How do I find my gaskets?





















I search for my window
or
I order

How can you check the condition of your fireplace insert’s gaskets yourself ?
The glass gasket on your fireplace insert is an often-overlooked wear part, yet it is responsible for the airtightness and efficiency of your heating appliance. If smoke is escaping, the glass is turning black too quickly, or your wood consumption is increasing, it is time to check this component. Find out how to assess the condition of your gaskets yourself and take timely action to ensure optimal operation once again.
Why should you check the gasket on your fireplace insert glass regularly ?
A fireplace insert operates in a closed circuit to maximise thermal efficiency. The glass gasket ensures a tight fit between the glass and the metal frame, thereby preventing unwanted air ingress and smoke escape. Over time, repeated heating cycles, temperature fluctuations and natural wear and tear cause this component to deteriorate.
In England, where winters can be harsh depending on the region, a poorly gasketed fireplace insert causes several problems :
- Excessive fuel consumption of up to 15–20%
- Difficulties in correctly adjusting the draught
- Accelerated soiling of the glass pane due to soot deposits
- The risk of smoke backing up into the room
- A reduction in the overall efficiency of the appliance
To find high-quality gaskets that fit your fireplace insert, you should contact specialist suppliers who offer a range of diameters and profiles.

The different types of gaskets in a fireplace insert
Before you begin your inspection, you should identify the various gaskets in your fireplace insert. Each type serves a specific function and has different properties.
The glass gasket of the fireplace insert
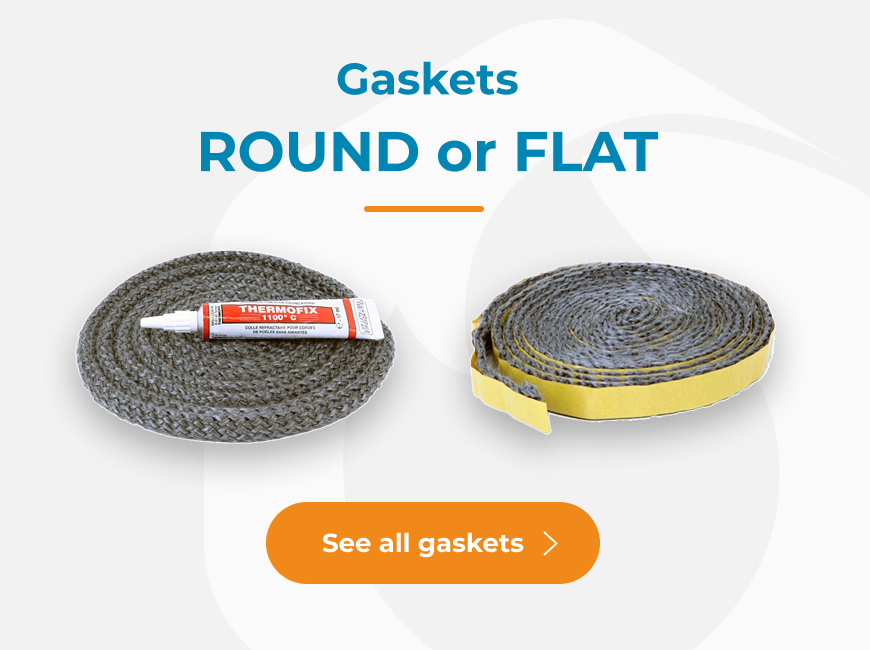
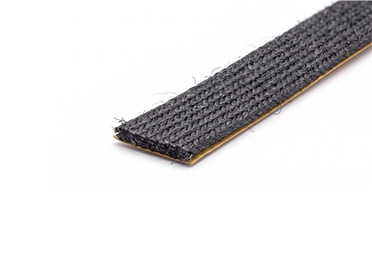
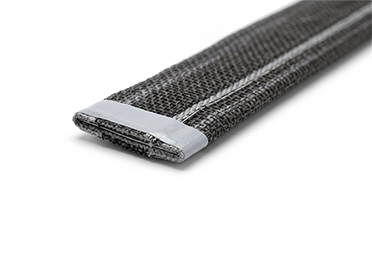
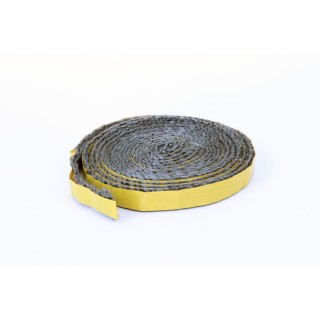
Depending on the appliance, this glass gasket may be round or flat and is fitted between the glass pane and the door frame. It is usually made of braided fibreglass and can withstand temperatures of over 500 °C. Its purpose: to ensure a tight gasket between the ceramic glass pane and the metal frame of the door.
The round gasket for the fireplace insert
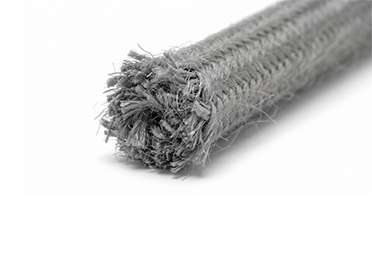
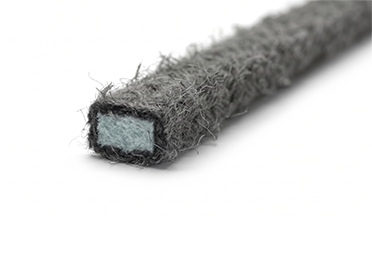
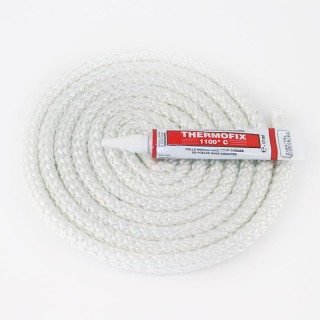
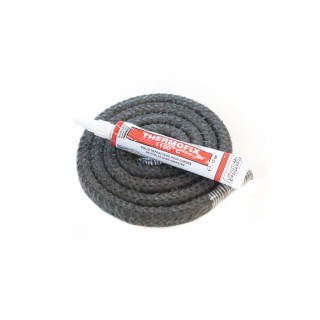
The round gasket for the fireplace insert is usually fitted to the door frame and ensures a tight gasket against the body of the fireplace insert. This type of gasket is available in various diameters, ranging from 4 mm to 20 mm depending on the model.
The rectangular gasket and other profiles
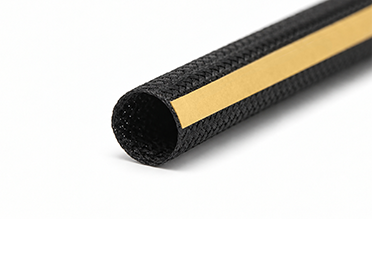
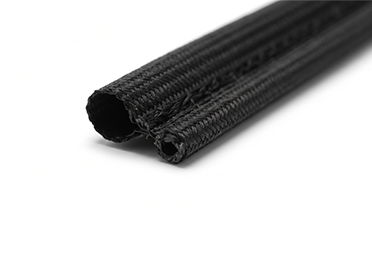
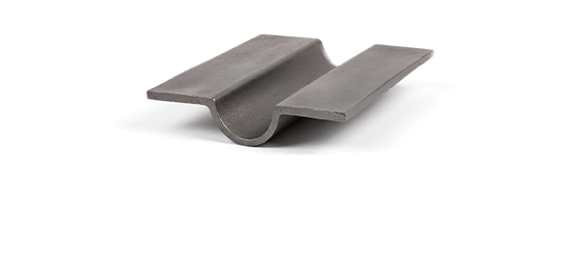
There are other types of gasket that are more specific to certain brands and appliance models. These include: the rectangular gasket, the lip gasket, the tubular gasket and the reinforced gasket.
| Seal type | Location | Common sizes | Average service life |
| Self-adhesive flat gasket | Glass perimeter | 1 à 4 mm thick | 2-4 years |
| Round gasket | Door frame | 4-20 mm diameter | 3-5 years |
| Rectangular-section gasket | Various applications | 5x8, 6x12, 8x14 | 3-5 years |
| Lip gasket | Various applications | various sizes | 2-4 years |
| Tubular gasket | Door frame | 4-16 mm diameter | 2-4 years |
| Reinforced gasket | Various applications | various sizes | 3-5 years |
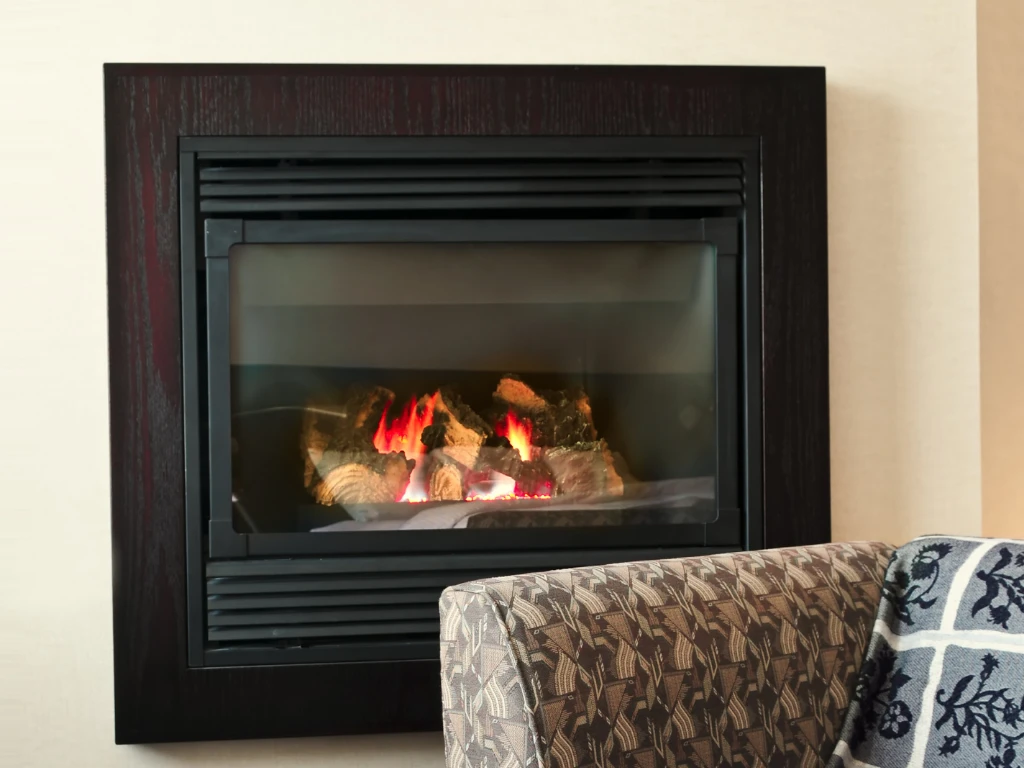
How to check the condition of your chimney gasket
You do not need any special tools to check your chimney gasket. Only carry out the check when the chimney is cold. The appliance must have been switched off for at least 12 hours.
Visual inspection
Carefully inspect the gasket along its entire length. Look out for the following signs :
- Excessive deformation: The gasket no longer returns to its original shape
- Fraying: Fibres are coming loose from the main strand
- Hardening: The gasket becomes stiff and brittle
- Missing sections: Parts of the gasket are missing
- Heavy soot: Signs of smoke penetration
The pressure test
Gently press your finger against the gasket. A good gasket for a fireplace insert must :
- be easily indented when pressure is applied
- return to its original shape within a few seconds
- have a supple yet firm texture
- If the gasket remains indented or crumbles when touched, it must be replaced.
The paper test
You can use this simple method to check the actual tightness of your door gasket :
- Take a standard sheet of paper
- Place it between the door and the insert frame
- Close the door as usual
- Gently pull on the sheet
If the sheet slides through easily or falls out on its own, the door gasket is no longer functioning properly. Repeat this test at several points along the entire edge to identify the defective areas.
When does the fireplace insert’s gasket need replacing?
The need to replace the gaskets in a fireplace insert depends on several factors. However, some signs are clear and should prompt immediate action.
Warning signs during use
Keep an eye on your fireplace insert whilst it is in use. These signs indicate a faulty, burnt-out sea l:
- Visible smoke escaping around the door
- A smell of smoke in the room despite correct draught
- The glass becomes soiled unusually quickly
- Difficulty maintaining a steady burn
- The door closes poorly or appears to be misaligned
Frequency of use as an indicator
The frequency of use has a significant impact on the gasket’s lifespan :
- Occasional use (weekends, holidays): inspection every 3 years
- Regular use (daily supplementary heating): annual inspection
- Intensive use (main heating): inspection every 6 months
Before purchasing a gasket suitable for your fireplace, you should determine the intended installation location on your appliance :
- Flat surface: Choose a self-adhesive flat or tubular gasket. The most common type is the flat gasket measuring 10x2 mm (10 mm wide and 2 mm thick).
- Groove: In this case, choose a round gasket. The diameter of the gasket corresponds to the width of the groove (NOT the depth!).
- Narrow groove: Use a gasket with a rectangular cross-section. For example, a gasket measuring 8x14 mm is designed for installation in an 8 mm wide groove.
How to replace your fireplace gasket step by step
Please follow these instructions step by step.
Materials required
- New gasket with the same specifications as the original gasket
- Cutter or a pair of scissors
- Wire brush or scraper
- Clean cloth
- High-temperature adhesive (if the gasket is not self-adhesive)
- Degreasing cleaner
Removing the old gasket
- Open the door of the fireplace insert fully
- Mark the direction in which the current gasket is wound
- Gently pull at one end to remove the gasket
- Remove the entire gasket cord, leaving no residue
- Scrape off any adhesive residue with a wire brush
- Clean the groove using a degreaser and leave it to dry
Fitting the new glass gasket for the fireplace insert
- The quality of the installation determines how well your fireplace will gasket in future:
- Start at one corner of the glass or the door
- Apply a thin line of high-temperature glue to the groove, or apply it drop by drop
- Position the glass gasket for the fireplace insert without stretching it
- Press the gasket into place around the entire circumference, applying even pressure
- Trim the gasket, leaving a slight overlap at the joint
- Press the two ends firmly together
Warning : Only self-adhesive gaskets may be stuck directly onto the glass. Fireproof glue is intended for cast iron and must never be applied to the glass! Fireproof glue on the glass will cause it to shatter!
Pro tip : Allow the Fireproof glue to dry for 24 hours before first use. For self-adhesive gaskets, clean the surface thoroughly and carry out the work at room temperature (between 15 and 25 °C).
Maintaining the gaskets to extend their service life
Regular maintenance of the fireplace insert’s gasket delays the need for replacement and maintains your appliance’s performance.
Regular cleaning
Carry out a thorough clean after each heating season :
- Vacuum the gasket to remove ash and dust.
- Gently scrub it with a soft brush.
- Avoid harsh chemicals
- Check for any foreign objects in the gasket groove, as well as soot and rust spots
Preventive measures in everyday use
Certain habits will help protect your gaskets :
- Close the door gently without slamming it to avoid sudden compression
- Do not overload the fireplace: excessive temperatures accelerate ageing
- Ensure clean combustion using dry wood (less than 20% moisture content)
- Check the air supply setting to prevent overheating
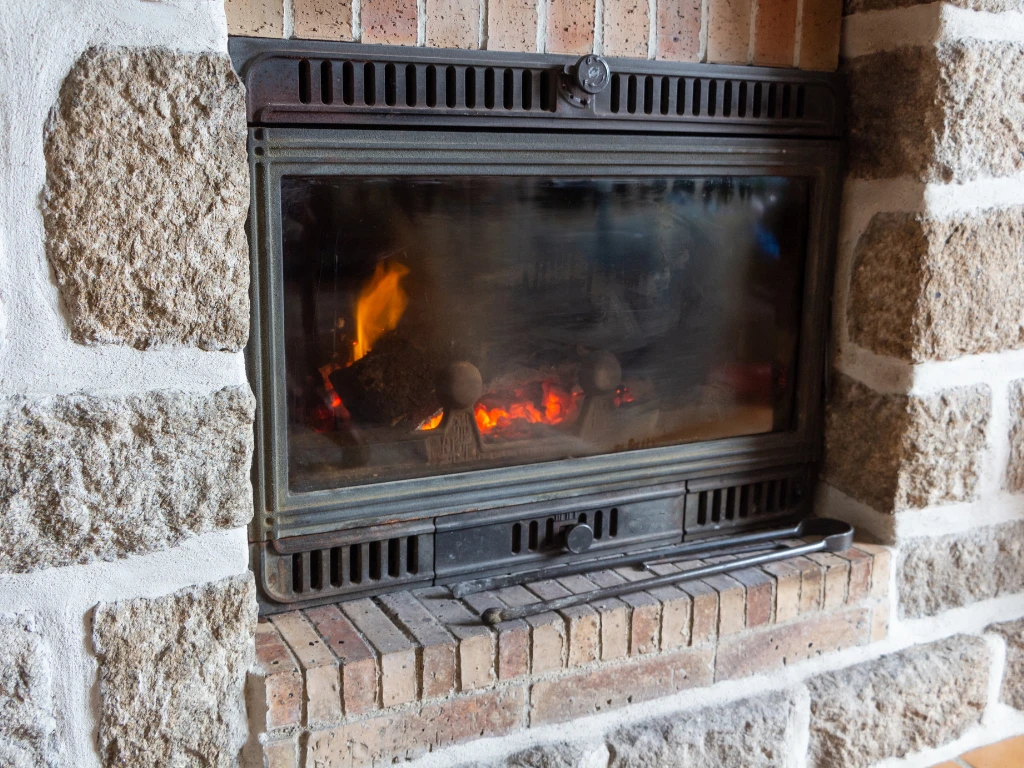
Take a look at the range of round seals available so you can plan ahead for any replacements you may need.
Mistakes to avoid when inspecting and replacing gaskets
Although it may seem simple, replacing a gasket can go wrong if you make these common mistakes.
Choosing a gasket with the wrong dimensions
A gasket that is too thin will not provide a perfect airtight seal. A gasket that is too thick prevents the door from closing properly, may even cause the glass to break, and will wear out prematurely. Always check :
- The shape of the gasket housing: flat surface or groove
- The width of the groove and its depth, if it is deeper than it is wide
- The required total length (circumference + 5 cm allowance)
Neglecting surface preparation
Fitting a new gasket onto a dirty or greasy surface compromises adhesion. Take the time to thoroughly clean and degrease the surface before installation.
Stretching the gasket during installation
Certain rounded gaskets are more elastic than others and can be stretched slightly during installation; however, if stretched too much, they lose thickness and compressive strength. Fit them naturally with slight tension, following the shape of the groove.
For a high-performance and safe fireplace insert
Regularly checking the glass gasket on your fireplace ensures that your heating appliance operates correctly and keeps you warm and comfortable. With an inspection that takes just a few minutes and a simple procedure that you can carry out yourself, you can maintain the gasket of your fireplace insert, reduce your wood consumption and avoid the inconvenience caused by smoke escaping. Don’t wait for the first signs of a fault: make it a habit to carry out an annual check before each heating season.
Loading...
check_circle
check_circle